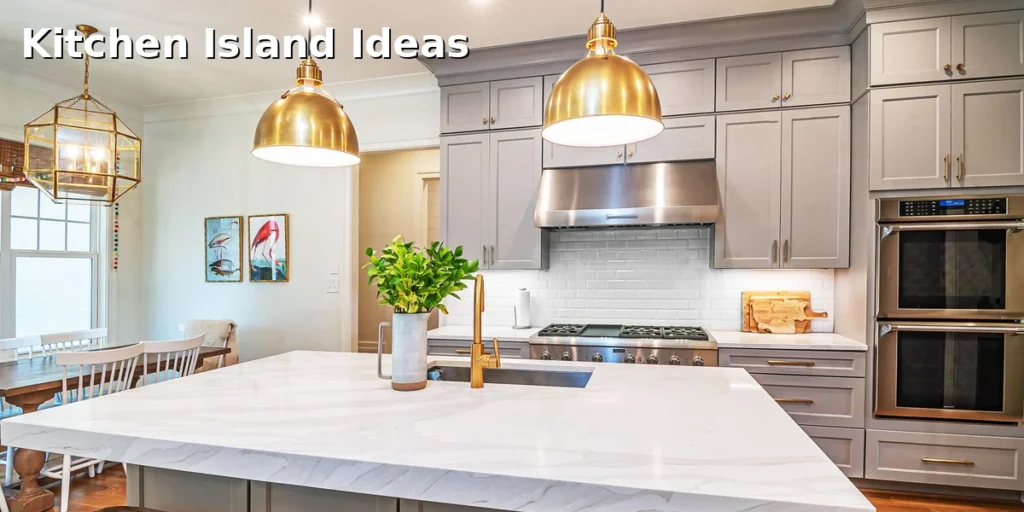
The best kitchen island ideas earn their floor space by doing a clear job, fitting the room around it, and leaving enough room to walk, cook and sit. This list gives you 15 island layouts that work in real kitchens, with the six numbers that decide whether one fits your room at all.
Kitchen Island Ideas: Six Numbers Before You Spend
Every island decision starts with the same six numbers, and they are worth pinning down before you look at a single photo. The Kitchen section of this site keeps coming back to the same point: a kitchen works when the measurements work first and the style follows. Get these right and the rest of the choices get easier.
Here they are, in one place. A walkway that only carries people needs 36 inches, or 91 cm, clear. A work aisle, where one person cooks, needs 42 inches, or 107 cm. Two cooks working back to back need 48 inches, or 122 cm. Each seated person needs 24 inches, or 60 cm, of width. A casual overhang for knees is 12 inches, or 30 cm, and a full meal needs 15 inches, or 38 cm. Pendant lights hang 30 to 36 inches above the worktop.
| What you measure | The number | Why it matters |
|---|---|---|
| Walkway, people only | 36 in (91 cm) | One person passes without turning sideways |
| Work aisle, one cook | 42 in (107 cm) | The cook opens the oven without trapping anyone |
| Work aisle, two cooks | 48 in (122 cm) | Two people can stand back to back |
| Width per seated person | 24 in (60 cm) | Elbows stay out of the next plate |
| Overhang, snack or meal | 12 in casual, 15 in for meals | Knees fit, and nobody eats with their plate on their lap |
| Pendant height above the top | 30 to 36 in | Light lands on the work, not in your eyes |
One more number belongs here. An island wider than about 5 feet leaves the middle out of reach, so crumbs and clutter collect where no arm can clean them. Keep the width you can reach across, and let the length do the work instead.
Size It Right, Then Choose the Shape
Size is not a guess, and it is not a showroom number either. It is the room you actually have, minus the space people need to move. The Fine Homebuilding guide to island clearances puts the same rule in plainer words: clearances decide how much island you can have, not the other way round, and a 3 by 5 foot island already needs about 120 square feet of room once the aisles around it are counted.
1. Tape-Test the Footprint First
Mark the island outline on the floor with painter’s tape, then live with it for a week. Open the oven door, pull out the dishwasher rack, carry a full tray through, and see what the tape makes you do. If you keep stepping over the line, the island is too big, and no amount of pretty stone will fix that.
2. Go Slim When the Room Is Tight
A slim island, about 2 feet deep and 4 to 5 feet long, still holds prep space and two seats, and it fits rooms where a full island would block the walkway. It suits a galley kitchen or a long narrow room, where the island runs parallel to the main counter. Keep the long side clear for walking, and put the seats on the end that faces away from the cooking line.
3. Try a Peninsula Instead
A peninsula is an island fixed to one wall, and it needs clearance on three sides instead of four, so it fits rooms that cannot take a freestanding block. It gives you the same extra worktop and the same seating, and it leaves the floor open on the side that joins the wall. Long narrow kitchens suit it best, and it costs less to fit because one end is already supported.
Give the Island One Main Job

An island that tries to do everything ends up doing nothing well. Pick one main job, build the island around it, and let the second job be a quiet bonus, not a rival. The two jobs that work best are cooking and gathering, and they pull the design in opposite directions, so the choice matters.
4. Build a Prep and Cook Island
Put the sink or the hob on the island and it becomes the centre of the work triangle, with chopping, washing and cooking in one short walk. Keep at least a metre of clear worktop beside the hob for hot pans, and put the bin within one step, because a cook island without a bin nearby turns into a trail of peelings. Ventilation needs planning too: an island hob needs a bigger hood than a wall hob, because it pulls air from all sides.
5. Keep One End for Sitting and Talking
Leave one end of the island free of appliances and give it to people. A lower, table-height end, about 30 inches high, works for homework, coffee and long chats, and it keeps guests out of the cooking lane. Keep the seats on the side that faces away from the hob, so nobody sits where pans swing past.
Storage That Earns Its Floor Space
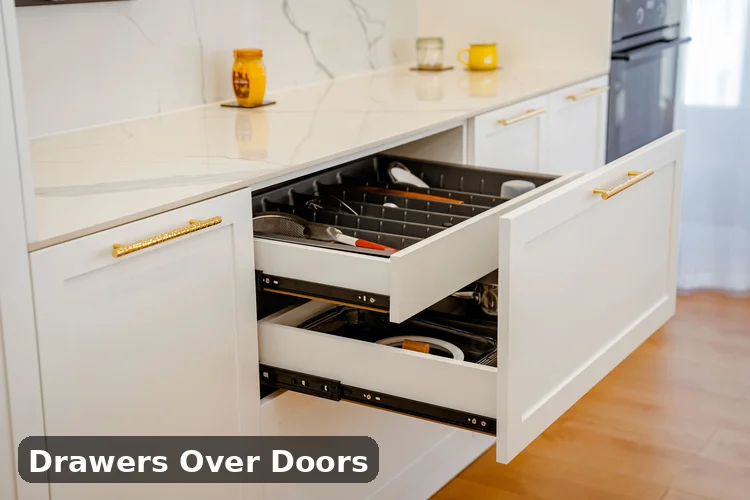
An island takes up floor space, so the storage inside it has to pay rent. The test is simple: can you reach what you use every day without kneeling, digging or moving three other things first? If the answer is no, the island is a table with a price tag, not storage. Good built-in storage ideas follow the same test all through the kitchen, and the island is where it matters most.
6. Choose Deep Drawers Over Doors
Deep drawers beat cupboards for pots, pans and small appliances, because you see everything from above and pull the whole drawer out to reach the back. Put the heavy pans in the widest drawer nearest the hob, and the baking trays in a tall narrow drawer beside it. Doors suit tall bottles and the odd-shaped things, but they should not be the default.
7. Work the Ends and the Bin
The ends of an island are easy to waste, so give them a job. A narrow pull-out at one end holds baking trays or chopping boards upright, and a pull-out bin at the other end keeps waste and recycling one step from the prep area. Both are small fittings, and both get used every single day, which is more than you can say for a decorative shelf.
8. Use Both Sides
An island has two long sides, and most people only use one. Put drawers on the cooking side and shallower cabinets on the sitting side, for placemats, napkins and the things guests need. The sitting side stays shallow enough that knees still fit under the overhang, and nothing stored there gets in the way of a seated person.
Seating People Actually Use

Island seating fails for boring reasons: not enough knee room, stools that are the wrong height, or seats facing a wall nobody wants to look at. Fix those three and the seats get used every day. A 36 inch high counter takes stools 24 to 26 inches high, and a raised 42 inch section takes stools 28 to 30 inches high.
9. Seat One Side Only, With the Right Overhang
Seat one long side only, and give it the full overhang: 12 inches for a quick coffee, 15 inches when people eat a meal there. Seating on both sides looks generous in a photo, but in a real kitchen it eats the walkway on both sides and leaves nobody comfortable. One side, done properly, seats three people on a 6 foot island and leaves the other side free for work.
10. Raise a Snack Ledge to Hide the Mess
A raised second tier, 42 to 48 inches high, hides the prep mess from the room and gives the sitting side its own level. It needs at least 18 inches of depth to be useful for eating, and it costs more than a flat top, so treat it as a deliberate choice, not a default. In a flat island the same trick is a wide chopping board left out on purpose, which costs nothing.
Small Kitchens and Flexible Islands
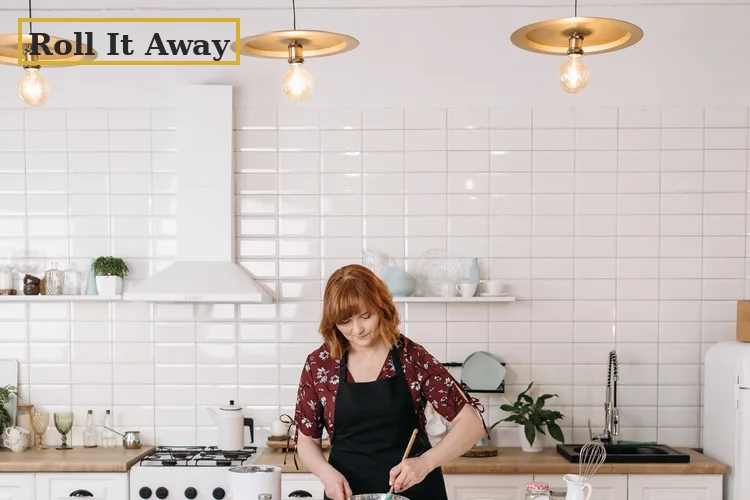
A small kitchen can have an island, but the island has to earn its place differently: it must move, fold, or shrink when the room needs the floor back. The small kitchen ideas on this site keep making the same point, and the island versions of it are the most useful ones here.
11. Roll It Away When You Need the Floor
A rolling island on lockable wheels, about 36 to 48 inches long, gives you prep space and storage, then rolls against a wall when the room needs to breathe. Lock the wheels before you chop, or the island will wander mid-slice. Butcher block tops suit rolling islands best, because they are warm, tough and easy to re-oil.
12. Fold the Top Down
A drop-leaf top folds down flat against the island when it is not needed, and lifts to seat two people when it is. It suits a kitchen that hosts breakfast for two and dinner for six in the same week. Hinges need to be strong and the leaf needs a leg or bracket that locks, or it will sag within a year.
13. Try an Open-Leg Table Island
An open-leg table island, a plain table at worktop height, keeps the floor visible underneath, so a small kitchen feels bigger than it is. It holds a chopping board, a fruit bowl and two stools, and nothing more, which is honest. It is also the cheapest island in this list, and the easiest to take with you when you move.
Features Worth Paying For
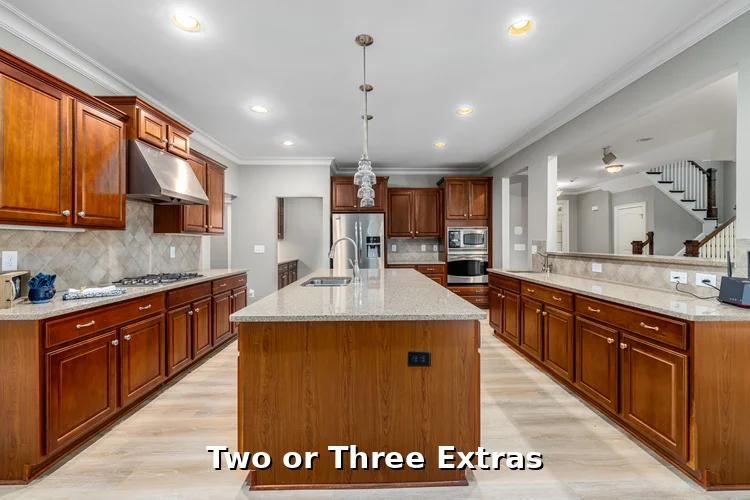
Island extras are where budgets quietly double, so pick two or three and stop. The ones worth the money are the ones you touch every day, and the ones that are hard to add later. A socket fitted now costs a fraction of one chased into a finished island.
14. Pick Two or Three Extras, Not All of Them
Choose from a prep sink, a drinks fridge, a charging drawer and extra sockets, and pick the two or three your household actually uses. A prep sink earns its place if you wash vegetables at the island every day. A drinks fridge earns it if the island is where guests gather. A charging drawer earns it if phones live in the kitchen. Everything else is a showroom extra, and the island works fine without it.
15. Let Colour and a Waterfall Edge Do the Talking
One strong look beats three weak ones. Paint the island a different colour from the wall cabinets, or run the worktop down one side as a waterfall edge, and the island becomes the feature of the room without any extra decoration. Dark navy, deep green or warm wood all work, as long as the colour is used once, with confidence, and the rest of the room stays calm.
What It Costs, and the Mistakes That Shrink a Kitchen

Costs vary too much by country, material and fitter to give one honest average, so here are labelled ranges instead, and a simple rule: get three local quotes, and budget the extras on a separate line. A rolling cart or ready-made island costs a few hundred dollars or pounds. A simple stock-cabinet island with seating runs about $600 to $2,500 installed, according to one 2026 source, with UK prices in the same ballpark in pounds once fitting is counted. A mid-range island with good cabinets and a stone top runs into the low thousands. A custom island with plumbing, a hob and appliances runs well into five figures. The small kitchen remodel costs on this site show the same spread, and the same advice: three quotes, in writing, before you order.
What a Kitchen Island Costs, in Honest Ranges
Ask each fitter for the same list: the island itself, the worktop, the fitting, the electrics, the plumbing if any, and the delivery. Compare the lists line by line, because a cheap quote that leaves out the electrics is not a cheap quote. Keep a tenth of the budget aside for the surprises a kitchen always hides, like an uneven floor or a pipe in the wrong place.
Five Mistakes That Shrink a Kitchen
First, an island that is too big for its aisles, which turns the kitchen into a corridor. Second, seating with no knee room, which nobody uses twice. Third, an island with no bin nearby, which spreads mess across the room. Fourth, a worktop wider than you can reach across, which strands crumbs in the middle. Fifth, ordering before the tape test, which is how the other four happen.
Questions People Ask Before They Order

How much space do I need around a kitchen island?
36 inches for a walkway, 42 inches for a one-cook work aisle, and 48 inches for two cooks. Behind seated people, leave 36 inches to shuffle past and 44 inches if people walk through regularly. Measure with the oven and dishwasher doors open, because that is how the kitchen is actually used.
Can a small kitchen have an island?
Yes, if the island is slim, rolling, folding or a peninsula, and if the tape test says the aisles still work. A 4 by 2 foot island seats two people and fits rooms where a full island would block the walkway. If even that fails the tape test, a movable cart gives you most of the benefit for a fraction of the price.
How much does a kitchen island cost?
From a few hundred for a rolling cart, through about $600 to $2,500 installed for a simple stock-cabinet island with seating, into the low thousands for a mid-range island with a stone top, and well into five figures for a custom island with plumbing and appliances. Get three local quotes in writing, and compare them line by line.
Should my island match my cabinets?
It does not have to, and a contrast often looks better. A different colour or a warm wood island against painted cabinets makes the island the feature of the room, and designers use that trick on purpose. Keep the contrast to one change, colour or material, and the room stays calm.
Island or peninsula, which fits my kitchen?
A freestanding island suits a room with clear space on all four sides, and a peninsula suits a long narrow room, because one side is fixed to the wall and needs clearance on three sides only. If your room is long and narrow, the peninsula usually wins. If it is wide and square, the island usually wins.
Measure first, pick one main job, and let the island earn its floor space every day. A kitchen island that fits the room, seats the people who use it and stores the things you reach for is the one you will still love in five years, and it starts with a tape measure, not a photo.