

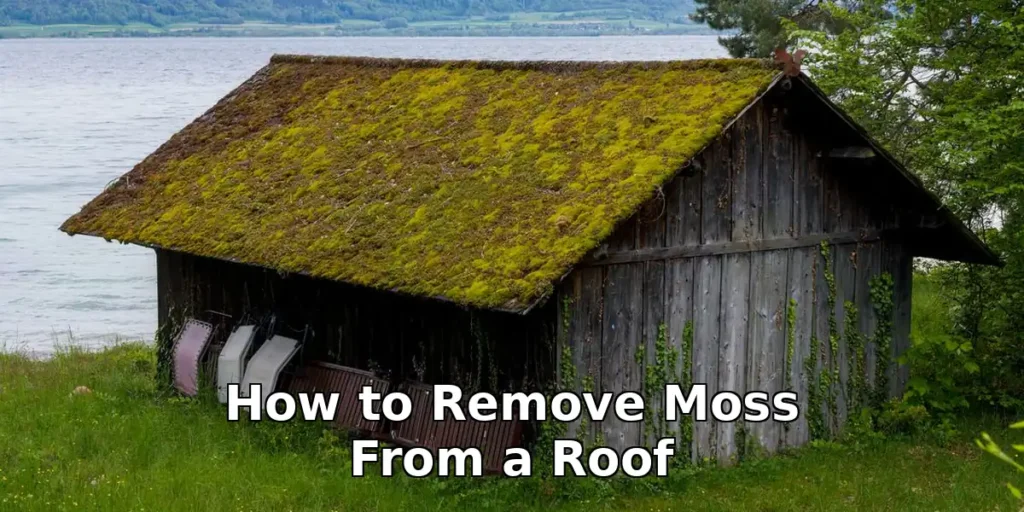
A green roof charms from the street, no question. Look closer, though, and what seemed picturesque turns into a repair bill that grows every single season you quietly ignore it. Learning how to remove moss from a roof the gentle way protects each shingle and keeps real repair money in your pocket.
Moss behaves like a sponge, not a plant. It soaks up rain and presses that moisture against shingles and tiles for days after the rain itself has finally stopped. Trapped damp lifts shingle edges, slowly, almost invisibly. Frost then cracks tiles outright, and small leaks grow into stains, rot, and damage worth thousands, so give that cute green patch a closer look.
Moss settles first where sun rarely reaches, on shaded, damp patches. North-facing slopes stay gloomiest of all, tree shade stays wettest, and thick moss hides damage quietly beneath it all, out of sight.
Moss, Money and a Morning: The Whole Job in Ten Lines
Here is the whole job, boiled down to one list. Every step gets explained properly further down the page, and none of it needs fancy gear or a whole lost weekend.
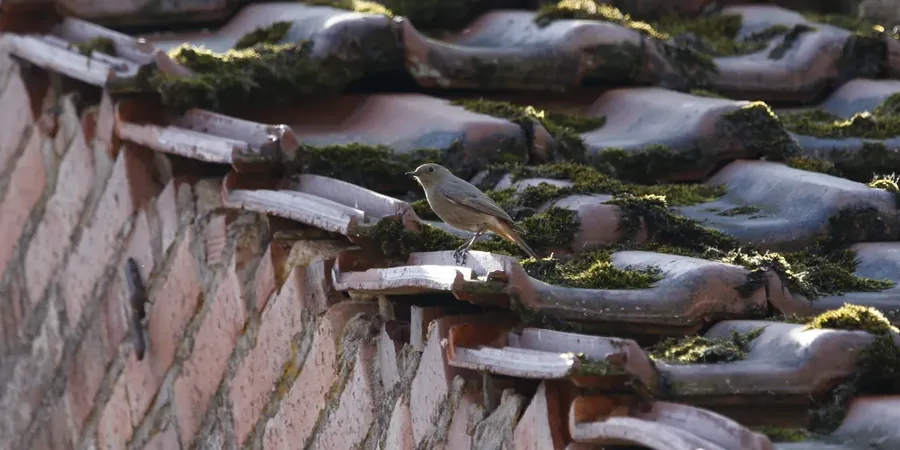
- Shade, damp air, north-facing slopes: moss loves them most.
- Keep the pressure washer in the shed, because its jet strips grit, cracks tiles, damages surfaces, and shortens roof life for good.
- Nothing beats a soft brush on safety alone.
- Oxygen bleach kills the moss, with no harsh fumes or smells.
- Once zinc or copper strips sit just below the ridge, rain does all the work, keeping moss away for years on end.
- Work only on dry, calm days, with a firm ladder.
- Steep or tall roofs are pro jobs, never weekend experiments.
- Most small roofs take two to four hours, start to finish.
- A few prevention minutes now save hours of repeat work.
- Kit complete: gloves, grippy shoes, one firm ladder.
That is the job in brief, unpacked below line by line. If drips already show indoors, read our guide on how to fix a leaky roof first, since a leak changes everything.
Safety First: Before You Climb Any Ladder
Moss turns roofs slippery as ice underfoot, truly. Ladder falls cause a shocking number of home injuries every single year, which is exactly why safety genuinely comes first, always.
Start with the weather, and accept only dry and calm. Wet shingles turn slick within seconds, and one strong gust can knock you clean off balance before you even react properly. Wear soft, grippy soles, tell a friend your plan, keep your phone in your pocket, and never, ever climb alone up there.
Most people rush the ladder part, which amazes me, yet firm, level ground under both feet matters more than anything else. Extend the ladder three feet past the gutter, a metre of spare rail. Hold three points of contact the whole time you climb. On steep roofs, a harness is common sense, never overkill.
I learned this watching a neighbour turn moss into broken tiles. Steep pitches, tall walls, fragile old slate or clay tiles: all need a pro, since those tiles crack underfoot so easily. You stay on the ground with the kettle on, no risk at all, while they bring roof ladders, harnesses, and full insurance.
Check the roof over first, before you do anything else. One loose or broken tile means unsafe footing already. Skip the job entirely on windy or frosty days, since gusts knock you off balance and frost turns everything dangerously slick. Climb straight back down if anything feels off, because the moss will wait, honestly, always.
How to Remove Moss From a Roof by Hand, Step by Step
The safest method needs no chemicals, just a brush, hands, and patience. Hand brushing sits at the heart of it all, one small section at a time, always working from the top downward.
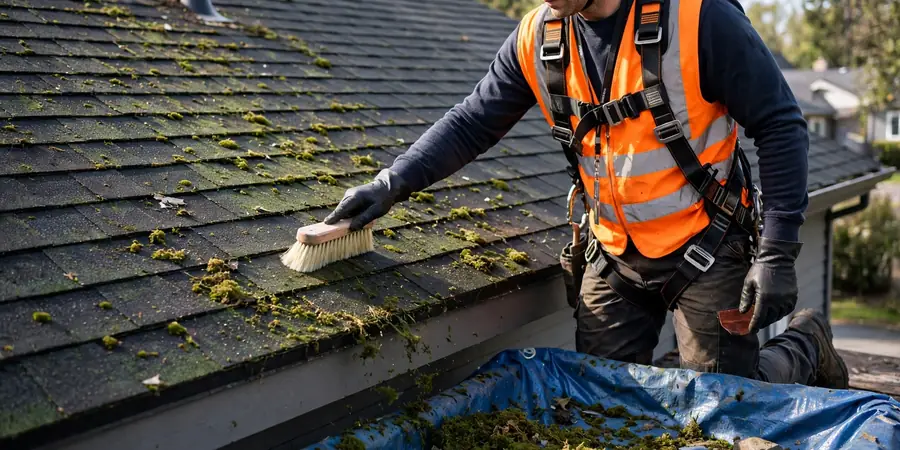
Brush downward only, soft-bristled brush or plastic scraper in hand. One careless upward stroke lifts shingles and breaks their seal. Suddenly a moss problem becomes a leak problem. Tiles need the slope followed instead, because they overlap downward, and working with that overlap keeps them seated firmly in place.
Ask around any garden fence and you hear the same mistake: the pressure washer, which you must skip entirely. Grit stripped off asphalt shingles, tiles cracked, water forced underneath, roof life shortened, warranties possibly voided: that is what the jet does. Your neighbour with the pressure washer means well, truly, but on this job he is simply wrong. A gentle hose rinse afterwards finishes the whole job.
From the ladder, feet planted, reach what you can with a long-handled brush. Drop the moss onto a tarp below, then clear the gutters, because moss blocks water flow so fast. Gather your tools before you climb, never halfway through the job, then finish with a soft rinse from the top down.
- The whole kit: brush, scraper, tarp, hose, bucket, gloves.
- Loose moss goes in the bucket, gloves on your hands.
- Cheaper than one takeaway dinner, all of it.
Let thick clumps dry first, then brush those patches lightly again. Roots still hang on below stubborn patches, usually, and the treatments coming next deal with exactly that. Mornings suit this work best, with a cool and dry roof underfoot, while hot afternoons just tire you out completely.
Method 2: Treatments That Kill the Roots
Brushing takes only the green top off, while tiny roots called rhizoids wait underneath, ready to regrow given half a chance. Treatments kill those roots and slow regrowth right down.
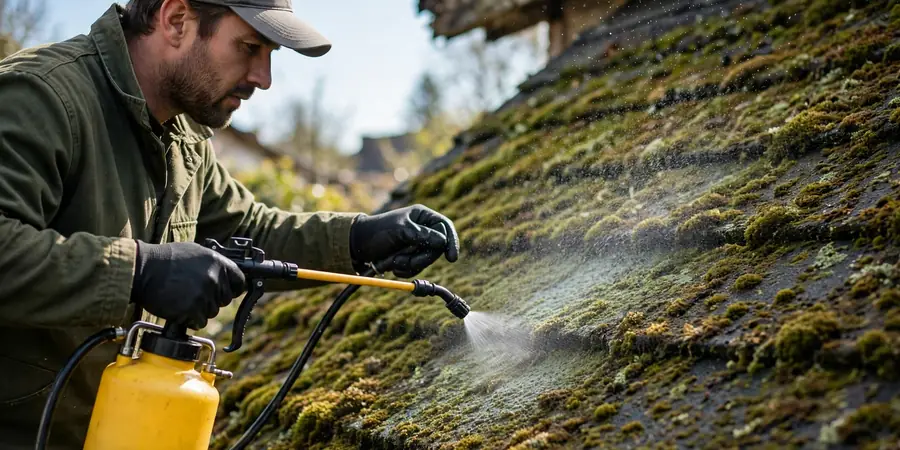
Start homemade treatment with oxygen bleach, mixed exactly as the label says, since stronger never works better. Spray, wait, brush, rinse: fifteen to twenty minutes, gentle brush, soft hose flow. Plants stay safe with this treatment, unlike with chlorine bleach, which should never touch a roof, since it stains shingles badly.
Buy shop-bought killers for roofs only, never paths or driveways. Most of them use potassium salts or zinc compounds, so read the whole label fully, step by step, before spraying anything. Soak the plants below first, then rinse them again after.
For the science behind it all, the Oregon State University Extension guidance on roof moss reads clearly and practically. Powders differ from sprays: sprinkle the zinc-based kind along the ridge. Rain carries zinc down the slope slowly, so keep every treatment far away from ponds, fish, and water life. Cover water butts before you spray, since that is common sense, yet easy to forget mid-job.
Prevention: Keep Moss From Coming Back
Cleaning is only half the job, since moss races back where shade and damp linger. A few simple changes slow it right down, and sunlight leads the way, since it is moss’s natural enemy.
Cut overhanging branches and watch what happens over the next few weeks: more sun, a drier surface, and far less food for moss. Clear valleys and gutters too: wet leaves feed moss all winter.
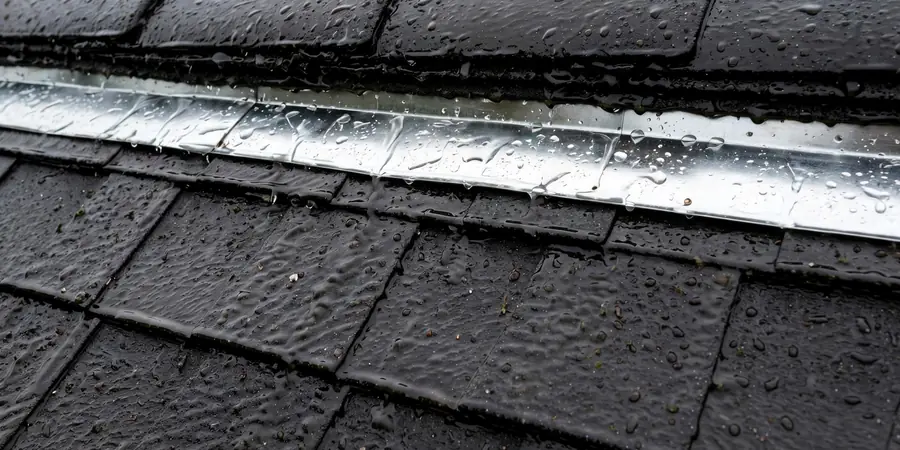
For the long term, zinc or copper strips are the fix. Fit them below the ridge; rain does the work. Tiny metal particles wash down with every rainfall, turning the whole surface hostile to moss growth over time. One strip guards about fifteen feet below it, roughly four to five metres of slope, for years on end.
For more upkeep jobs like this, seasonal checklists and simple fixes sit waiting in our roofing guides. Full gutters spill water back onto the roof edge, where moss starts first, so gutters matter. Clear them every autumn, and the roof edge stays dry.
Clear up one mix-up first: moss versus algae confuses many homeowners. Dark streaks across a flat surface mean algae, while moss grows thick, spongy, and raised proudly above it. Since only moss lifts shingles, leave mere streaks alone.
What It Costs and How Long It Takes
DIY is cheap in cash terms, with a brush, sprayer, and treatment running thirty to eighty dollars in total. Across the UK, that same kit runs roughly twenty-five to sixty-five pounds, which is hardly a fortune at all. A small roof takes two to four hours, a large or steep one a full day, with no shortcuts.
| DIY clean | Professional clean | |
| Cost | $30 to $80 / £25 to £65 | $300 to $600 / £250 to £500 |
| Time | 2 to 4 hours for a small roof | Usually a day, size dependent |
| Extras | Your own labour only | Damage spotting, zinc strips fitted |
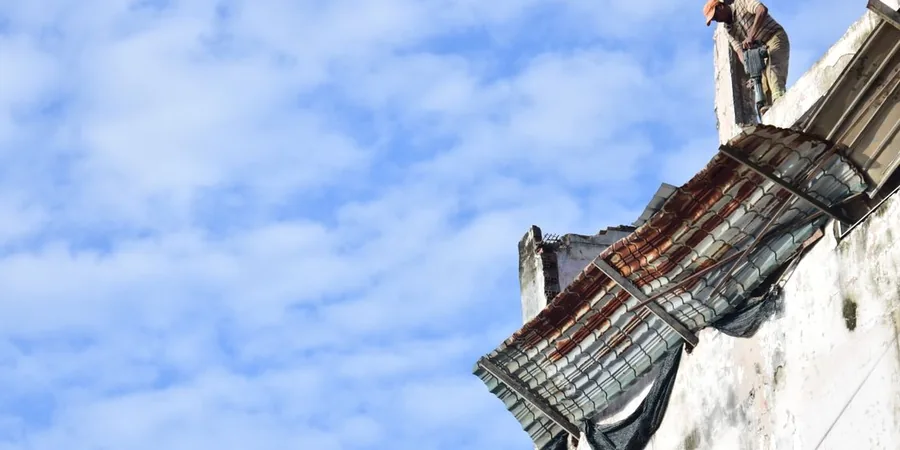
A pro costs more, obviously, at roughly three hundred to six hundred dollars for most homes. UK prices run two hundred fifty to five hundred pounds, size and access dependent. Pros spot damage as they work, which counts for a lot, since one cracked flashing found early pays for itself alone.
Sometimes cleaning reveals a bigger truth, with shingles curling, going bald, or cracking, all pointing to an aging, worn roof. Before spending more on cleaning, check the common signs you need a new roof, since scrubbing cannot save a finished roof. Many pros fit zinc strips during that same visit, which often costs less than a return trip.
Questions Homeowners Ask Most
Will moss really damage my roof?
Yes, slowly but surely, because trapped water sits against the surface and lifts shingles steadily over time. Wood below rots, frost bites, and trapped water cracks tiles. Years of neglect can halve a roof’s useful life, so knowing the lifespan of your material helps you judge urgency properly.
Can I use a pressure washer if I am careful?
Lowest setting or not, nothing changes at all, because the jet strips protective grit and forces water under tiles and laps. A soft brush and a hose remain the only way forward, because no careful version of pressure washing exists at all.
What is the best homemade moss killer?
Oxygen bleach mixed with water kills moss without harsh fumes, stains, or plant harm. Keep vinegar and chlorine bleach off roofs, since both damage surfaces and nearby plants, often worse than the moss itself. Fresh, light growth responds best of all to plain water and a brush, honestly, beating both of those most of the time.
How often should I clean moss off?
Aim for once a year, ideally in spring, brushing new patches while they stay small and easy to shift away. Watch shaded, north-facing slopes closest; check damp climates twice a year. Put it on the calendar beside the gutter clean, so the job never quietly slips another year.
When should I call a professional?
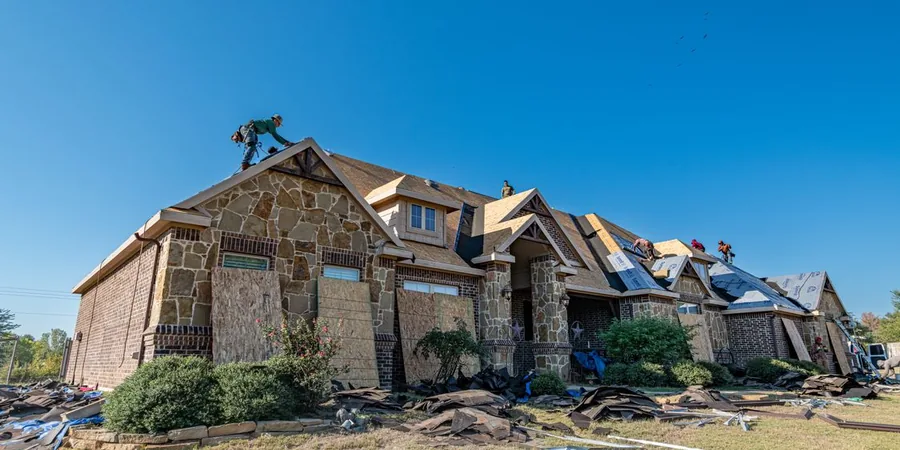
Any steep, tall, or fragile roof qualifies, along with any roof where shingles crumble easily beneath your brush. Crumbling shingles mean the roof is trying to tell you something, and pros bring safety gear plus proper access kit. The fee beats a fall, every single time, and that is not a close call for anyone.
The Small Weekend Job That Adds Years to Your Roof
Moss looks harmless, yet ignoring it lets costs climb steadily, while one calm, dry day stops it all completely. Brush gently, treat the roots, add prevention, and shingles and tiles stay dry for years.
Keep it simple after that, look up each spring and autumn without fail, and brush small patches before they spread anywhere. Ten quiet minutes now beat one big repair bill later, truly.
Snap a photo when done, then compare it next year. Small changes show up easily that way, and you catch new moss before it spreads anywhere at all. Pick a dry weekend, start at the top, and years of quiet service follow from your roof.



One Response