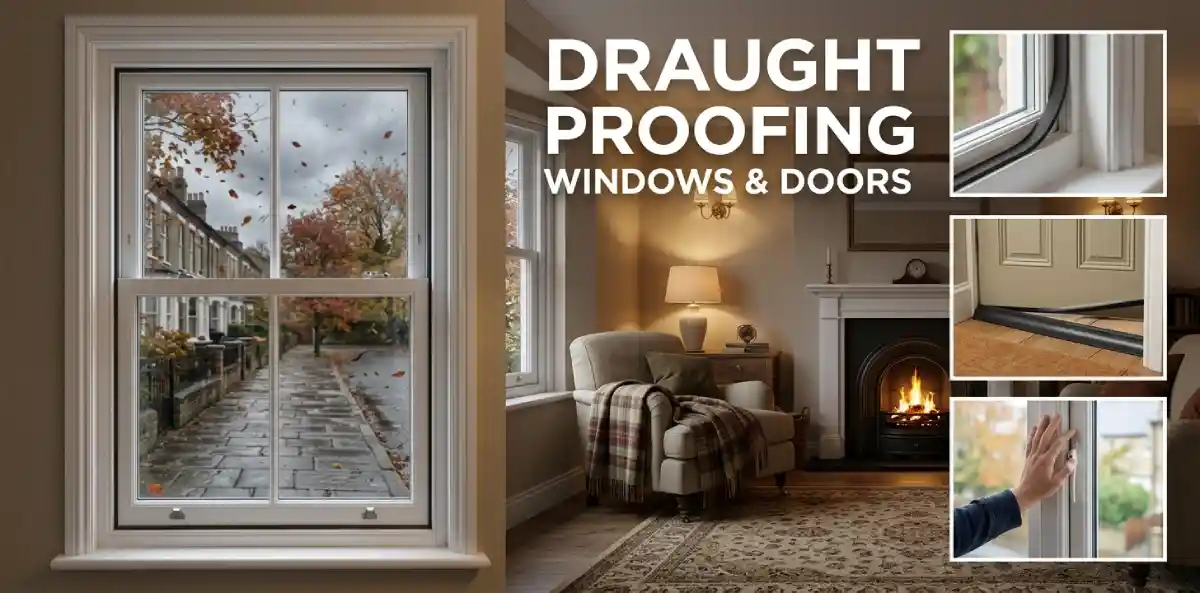
Walk past a closed window on a windy October evening and you may feel it. A thin stream of cold air creeps into the room. Your heating then works harder just to stay level.
Draught proofing windows and doors is one of the cheapest fixes in any UK home. Most of it needs basic tools and an afternoon. This guide shows you how to do it properly, step by step.
You will also learn what it costs, what you can realistically save, and where people go wrong. Ventilation matters as much as sealing, so we cover that too.
What Is Draught Proofing and Why Does It Matter?
Draught proofing means sealing the unwanted gaps that let outside air into your home. These gaps appear around window frames, door edges, letterboxes and keyholes. Even a new home can develop them as seals wear and frames move. Air leakage is a major reason older UK homes struggle to hold heat.
A draughty home feels colder than the thermostat says. People then turn the heating up and pay more for it. Sealing the gaps lets you feel comfortable at a lower setting.
Draught proofing is not the same as insulation. Insulation slows heat moving through walls, roofs and floors. Draught proofing stops air leaking through gaps. The two jobs work best when you do both.
How Much Can You Really Save?
The Energy Saving Trust puts the saving at roughly £40 to £60 a year. The exact figure depends on your home, heating and energy prices. Those estimates assume a typical gas-heated semi-detached house.
That may sound modest, but the job costs very little. A DIY kit can often pay for itself within a couple of winters. Comfort improves immediately, which many people value more than the savings.
| Job | Typical cost | Notes |
|---|---|---|
| Self-adhesive window or door strips | From about £5 | DIY, sold in rolls |
| Floorboard and skirting gap filler | About £3 to £5 | DIY |
| Letterbox draught-proofing | £5 to £10 | Fitted, outside London |
| Window draught-proofing | £10 to £25 per window | Fitted, outside London |
| Chimney draught-proofing | £15 to £35 | Fitted |
| Loft hatch seal | £10 to £25 | Fitted |
| Whole-house professional job | About £225 (£150 to £300) | Energy Saving Trust suggests £225 to £250 |
Prices vary by supplier and region, so always check current quotes.
How to Find Draughts Before You Buy Anything
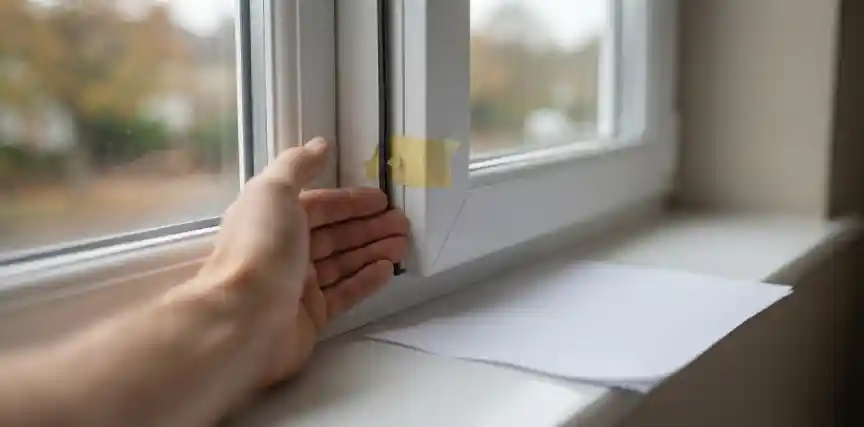
Do not buy anything until you know where the air is leaking. A quick survey saves money and stops you sealing the wrong spots. Pick a cold, windy day for the most obvious results.
- The hand test: Move your palm slowly along frames, edges and corners to feel cool air.
- The paper test: Close a sheet of paper in the door; if it slides out easily, the seal is weak.
- The light test: After dark, shine a torch from outside while someone checks inside for light gaps.
- The smoke test: Hold a lit incense stick near gaps and watch the smoke drift or flicker. Keep it well away from curtains and other fabrics.
Write down every leaking spot you find as you go. Mark each one with masking tape if that helps. This list then becomes your shopping list.
Choose the Right Draught-Proofing Materials
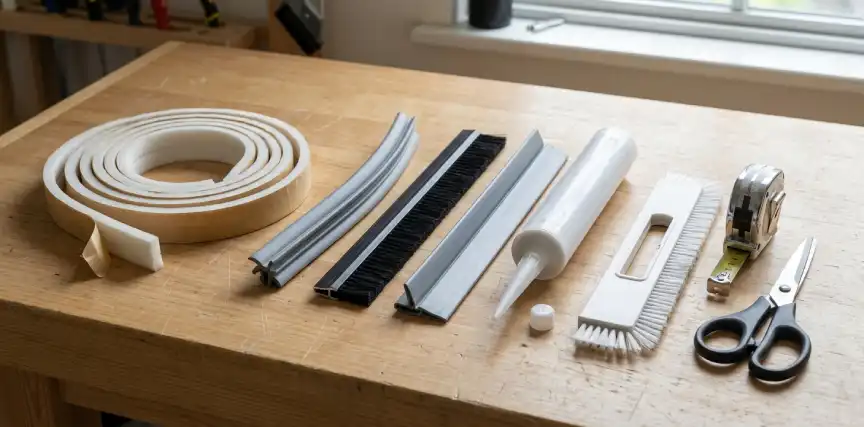
Buy the strip that suits your gap width. Too thick and the window will not close. Too thin and the draught simply stays.
| Material | Best for | Good to know |
|---|---|---|
| Self-adhesive foam strip | Narrow, even gaps on windows and doors | Cheap, but wears out sooner |
| Rubber compression strip | Door and window edges | Lasts longer than foam |
| Brush strip | Door bottoms and sliding sashes | Copes well with uneven gaps |
| Hinged-flap door seal | Gap under external doors | Screws onto the door |
| Silicone sealant | Fixed windows and frame cracks | Not for parts that open |
| Letterbox brush or flap | Letterboxes | Fits on the inside |
How to Draught-Proof Your Windows
Windows that open need strips between the sash and the frame. Windows that never open can be sealed with silicone.
- Clean the frame with a damp cloth and let it dry fully.
- Measure the length of each edge you plan to seal.
- Cut each strip slightly longer than the measured edge.
- Peel the backing and press the strip firmly into place.
- Close the window and check it latches without force.
Work on a dry, mild day so the adhesive grips well.
Old timber sash windows need extra care. Brush strips suit the sliding gaps without blocking movement. Historic England publishes guidance on draught-proofing sash windows, which is worth reading. Listed homes may need advice before you change anything.
Modern uPVC windows can loosen over time too. Check the hinges and locking points before buying anything. Worn rubber gaskets can be replaced for far less than new windows. Our guide to windows repair and glass replacement explains when replacement is worth it.
How to Draught-Proof Your Doors
External doors usually leak in four main places. Check the edges, the bottom gap, the letterbox and the keyhole.
- Edges: fit foam, rubber or wiper strips along the frame.
- Bottom gap: add a brush strip or hinged-flap seal.
- Letterbox: fit a brush or flap that closes properly.
- Keyhole: add a simple cover that swings over the hole.
Fit the bottom seal with the door closed. Mark the screw positions before drilling anything. Check the door still swings freely over your flooring.
Internal doors only need sealing when they lead to unheated rooms. Keeping them closed also helps hold heat where you need it.
Do Not Forget Ventilation
Sealing gaps is only half the job. Your home still needs fresh air to stay dry and healthy. Without it, moisture builds up and mould can follow.
Never block any ventilation that was fitted on purpose. That includes trickle vents, extractor fans, airbricks and wall vents. Take extra care in kitchens and bathrooms, where steam is highest.
Gas fires, wood burners and open-flue boilers need a steady air supply. Blocking their air supply can be genuinely dangerous. Fit a working carbon monoxide alarm and ask a registered engineer if unsure.
Common Draught-Proofing Mistakes to Avoid
- Sealing trickle vents or extractor fans, which traps moisture inside.
- Using strips that are too thick, so windows no longer close.
- Sticking seals onto dusty or damp frames, so they peel quickly.
- Ignoring floorboards, loft hatches and pipe gaps that leak air too.
- Skipping the survey and sealing the wrong places first.
Other Gaps Worth Sealing Around Your Home
Windows and doors are the obvious targets, but other gaps leak too. Floorboards, skirting boards, loft hatches and unused chimneys all let air through. Pipes entering walls and floors are easy to overlook.
A chimney balloon or cap blocks an unused flue. Always remove a chimney balloon before lighting any fire. Flexible filler or strips close floorboard gaps. A foam strip around the loft hatch finishes the job.
Once the gaps are sealed, look at the wider picture in our guide to energy efficiency solutions. Homeowners planning bigger upgrades should read our Warm Homes Plan 2026 guide for UK homeowners.
A Simple One-Weekend Draught-Proofing Plan
You do not need to do everything at once. Split the job into small steps and it feels easy.
| When | Task | Time |
|---|---|---|
| Saturday morning | Find draughts and measure gaps | 1 hour |
| Saturday afternoon | Buy strips, seals and sealant | 1 hour |
| Sunday morning | Seal windows and fit door strips | 2 to 3 hours |
| Sunday afternoon | Add letterbox, keyhole and loft hatch seals | 1 hour |
Test every window and door once you finish. Make sure each one still closes and locks smoothly. Note any spots that still leak for a second pass.
When to Call a Professional
Call a professional for rotten frames, warped windows or doors that no longer fit. Sealing a failing frame only hides the problem for a short time. Specialists can also fit discreet seals into sash windows.
Can You Get Help With the Cost?
Some households can get draught-proofing free or subsidised. Eligibility often depends on benefits, property type and energy rating. Ask your energy supplier, local council or Home Energy Scotland about current schemes. Our Warm Homes Plan 2026 guide explains the wider support aimed at heating upgrades.
Watch: How to Draught-Proof Your Home
Frequently Asked Questions
1. Is draught proofing worth it?
Yes, for most homes it is worth doing. It costs little and makes rooms feel warmer straight away. Savings of about £40 to £60 a year are typical.
2. How much does it cost to draught-proof windows and doors?
DIY materials often cost under £50 for a whole house. A professional whole-house job usually costs around £225 to £250. Prices vary by region and the number of openings.
3. Can I draught-proof without blocking ventilation?
Yes, just leave trickle vents, airbricks and extractor fans uncovered. Seal the gaps around the frame, not the vents themselves. Open windows briefly each day to clear moist air.
4. What is the best draught excluder for a front door?
Fit a rubber strip along the edges and a brush seal at the bottom. Add a letterbox flap and a keyhole cover too. Together they stop most front door draughts.
5. Can I draught-proof a rented home?
Usually yes, if you choose removable products. Self-adhesive strips, door snakes and window insulation film are common choices. Ask your landlord first if you plan any permanent changes.
6. How often should I replace draught-proofing strips?
Check them once a year before winter. Foam strips wear out sooner than rubber or brush types. Replace any that look flattened, cracked or loose.
7. Does draught proofing cause damp or condensation?
It can if you also block planned ventilation. Keep vents open and use extractor fans when cooking or showering. Steady airflow keeps moisture levels under control.
8. Is draught proofing the same as insulation?
No, the two solve different problems in your home. Draught proofing stops air leaking through gaps. Insulation reduces heat loss through walls, roofs and floors.
Ready to Stop Wasting Heat? Start With These Quick Fixes
Draught proofing windows and doors is cheap, quick and genuinely effective. Start with a simple survey, then seal the biggest gaps first. Keep your vents open so your home stays warm and dry. Pick one weekend before the cold sets in and get started.