That Drip at 2 am Costs More Than Sleep
If you want to learn how to fix a dripping tap, wait for night, when the house has gone quiet. By day the same drip looks like nothing, yet over a year it adds up to thousands of litres through your meter. The good news: one worn part, basic tools, and under an hour usually end the noise.
Most homes can skip the plumber for this job. A washer runs under five pounds in the UK or five dollars in the US, a cartridge runs higher, and thirty to sixty minutes covers the repair in most cases. Ignore it and the drip stains the sink, then feeds damp patches, the same slow damage in our guide to fixing a leaky roof.
One more thing before we start. Taps in the US are called faucets, and the same repair applies under either name, so I will pair the UK and US words as we go. Old washer taps and modern mixers both appear below, because guessing your tap type means a second shop trip.
Work Out Which Tap You Own
Half this job is knowing what hides inside your tap, since lookalike taps can carry different parts. Before you spend a penny, turn the handle slowly, since how it moves tells you almost everything.
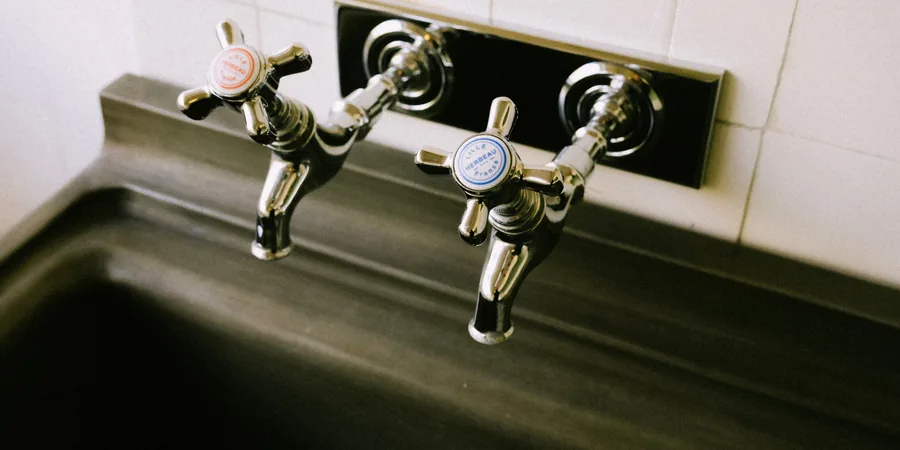
An old-style compression tap winds round and round, two or three full turns from shut to fully open. Every turn squeezes a small rubber washer against a metal seat, and after years the rubber flattens and hardens, letting water slip past.
A newer tap hides ceramic discs or a cartridge inside, and a quarter turn takes it from off to on. Single lever mixers sit in this second family too, blending hot and cold in one body, and wear means swapping the whole cartridge.
This test takes seconds, and it settles the question before you spend anything. Many turns point to a washer tap, a quarter turn to ceramic discs, and one lever to a mixer cartridge, with more small weekend jobs in our home maintenance guides.
Get Everything on the Towel First
Lay every tool and part out before you touch the tap, because a halfway shop trip costs screws, time, and patience alike. My habit is a towel beside the sink, with everything lined up on it, so nothing rolls away or hides.
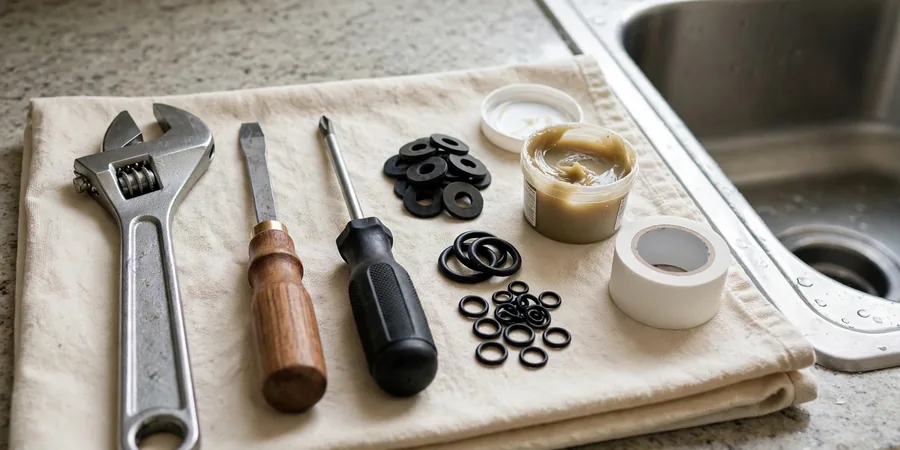
- An adjustable spanner, called a wrench in US shops
- Flat and cross-head screwdrivers, plus an Allen key set for newer handles
- A soft cloth and an old towel, so chrome never meets bare metal
- A small bucket for the stray water that always appears
- A mixed set of washers, or the correct cartridge, plus spare O-rings
- A little plumber’s grease, plus PTFE tape, sold as thread seal tape in US shops
Take the old washer to the shop in your hand, not as a description from memory, since only an exact match stops a second drip. Guessing the size is the fastest way to end with a worse leak, a point the Wickes guide to fixing a leaking tap makes too.
How to Fix a Dripping Tap, One Step at a Time
The steps below follow a washer tap, and a mixer follows the same path, with a cartridge in place of the washer. Keep the parts in order on your towel, work slowly, and the rebuild runs in reverse on its own.
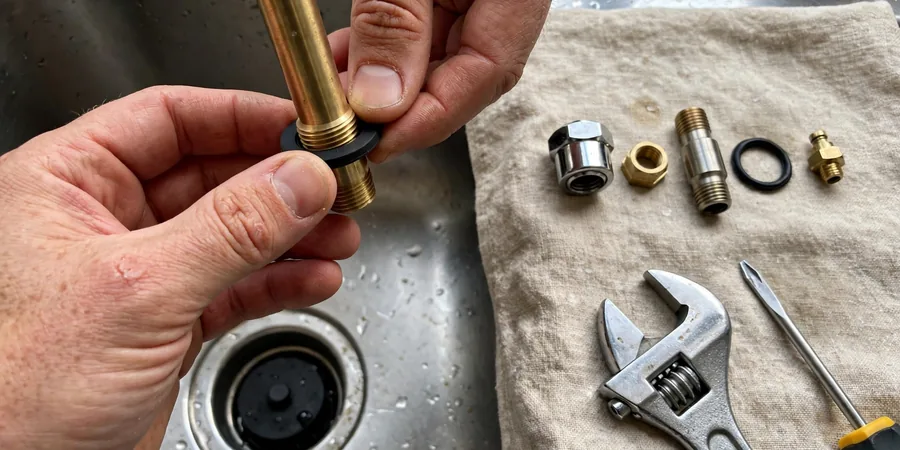
Step 1: Turn the Water Off
Under the sink or basin, wind the isolation valve on the pipe clockwise until no more water comes through. Homes without an isolation valve use the main stopcock instead (the main shut-off valve, in US terms), then open the tap and let the last water run out.
Step 2: Plug the Sink
Nothing comes apart until the plug is in, or a towel lies across the basin. A single screw down the drain ends the job on the spot, while five seconds of care here saves the whole afternoon.
Step 3: Remove the Handle and Cover
Pop off the small cap on top of the handle, often marked with a red or blue dot, and undo the screw underneath. Some handles hide a side grub screw instead, which wants the right Allen key, and the metal cover (also called the bonnet or shroud) then unscrews, so wrap it in cloth first, since a spanner scratches chrome fast.
Step 4: Swap the Washer or Cartridge
Hold the tap body steady, turn the big nut under the cover anti-clockwise (counter-clockwise in the US), and lift out the spindle, also called the headgear or stem. The old washer sits at the bottom, held by a small nut or pressed onto a peg, so undo or prise it off gently, then push the new washer firmly home. While you are in there, check the thin spindle O-ring, since a flat one leaks round the handle.
Here a mixer or quarter-turn tap differs a little, since its cartridge lifts straight out once the nut is off. Note which way it faces before you move it, since locating pins allow only one correct way round, and the new cartridge goes back the same way. Never force it, since a forced cartridge cracks seals.
Step 5: Put Everything Back Together
Slide the spindle back by hand first, then tighten with the spanner until firm, since too much force cracks seals and strips threads. Smear plumber’s grease on the threads, then refit the cover, handle, screw and cap.
Step 6: Turn the Water Back On
Keep the tap closed while pressure builds, then open the isolation valve or stopcock slowly. A sudden rush knocks old joints loose, so go slowly and protect joints you never meant to touch.
Step 7: Test the Tap
Let the tap run, turn it off, and watch the spout a full minute, since no drip after sixty seconds means success. Feel along each joint under the sink too, since fingers catch damp that eyes miss.
When a New Washer Does Not Stop the Drip
Some taps fight back even after a careful washer swap, and two problems cause most stubborn cases. Do not assume you failed, since the next check usually finds the real culprit.
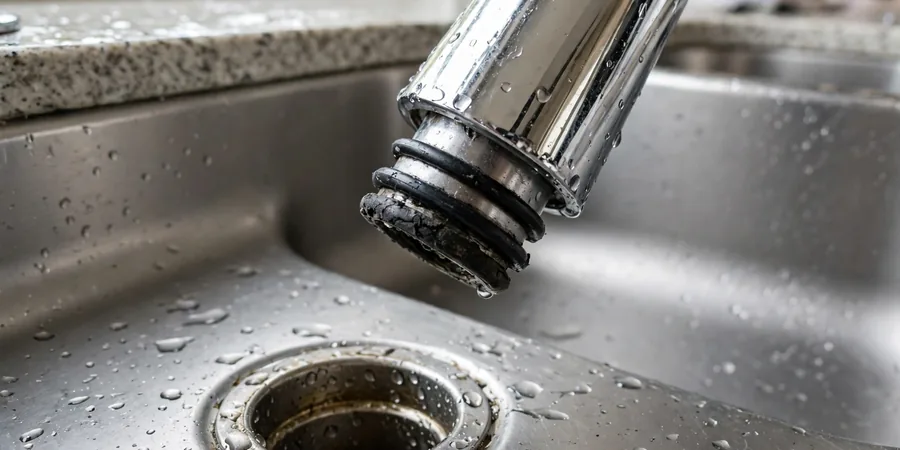
On a mixer, the first question is where the water actually appears. Water at the tip means the cartridge, while water round the spout base means worn spout O-rings, so undo the ring or screw, lift the spout off, swap the rings, grease them lightly, and push the spout back on.
A washer tap that keeps dripping after a new washer often hides a worn metal seat, the flat ring the washer presses onto. Grooves in that seat let water sneak past any fresh washer, and a cheap reseating tool grinds it smooth again, yet a badly worn seat means a new tap, since no washer seals deep damage.
Signs That Mean Call a Plumber
Most drips are safe weekend jobs, but a few signs mean you should stop and call for help. You cannot turn the water off, the tap body is cracked or corroded, pipes leak behind a wall or under a floor, the drip stays after a new cartridge or reseat, or fittings are seized: in all of these, a professional finishes the job faster and safer.
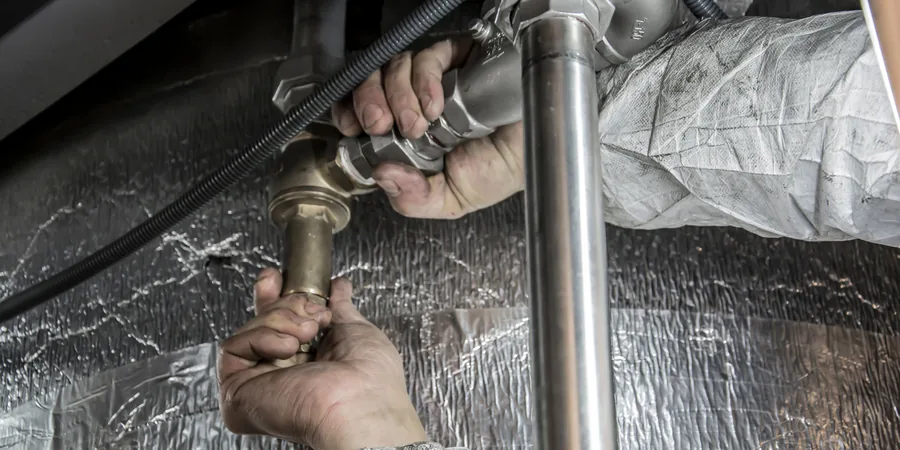
A plumber visit costs more than a washer, roughly seventy-five to one hundred and fifty pounds in the UK or one hundred to two hundred and fifty dollars in the US. At that scale, our plumbing guides cover the bigger jobs, from burst pipes to full refits.
Renters, tell the landlord first, before you start anything at all. In most places tap repairs sit with the landlord as a duty, so one quick message now saves an argument later.
Questions People Ask Before You Start
Why does a tap start dripping in the first place?
Daily use alone wears washers and cartridges out, and hard water hurries things along with grit and limescale. High pressure strains seals too, until water finds a path past one that no longer sits flat. Taps age like everything else, and a drip usually means wear.
How much water can one drip waste in a year?
One drip a second wastes over five thousand five hundred litres a year, about one thousand four hundred and fifty gallons in US terms. A quicker drip can waste two or three times as much, and the bill feels it before you spot it.
Can a beginner really do this repair alone?
Yes, most beginners manage this repair alone, in one short session, with basic tools and a little patience. Photograph the tap as you take it apart, since the photos guide your rebuild, and keep old parts until the new ones prove themselves. One careful session at a time, that is how most people first learn how to fix a dripping tap.
What if I buy the wrong washer size?
Never force a washer that does not fit, because a loose one leaks and a tight one tears fast. Match the old washer at the shop, or keep a mixed washer kit in the toolbox, a few pounds or dollars well spent.
Is it better to replace the whole tap instead?
When the body is cracked or pitted, or the finish peels badly, replace the tap, because repairs cannot rescue metal in that state. When the tap itself stays sound and only one part has worn out, repair it, since a repair costs less and keeps good metal out of landfill.
A Quiet Sink Is a Good Feeling
You came to learn how to fix a dripping tap; now the sink sits quiet, the bill looks safer, and one small part plus basic tools did it all. After a good repair there is no drama and no flood, only silence at two in the morning.
Small jobs build real home skills fast, and jobs that save water and money are the best start. With the toolbox still out, our guide to how to clean gutters covers a classic outdoor job in simple steps.