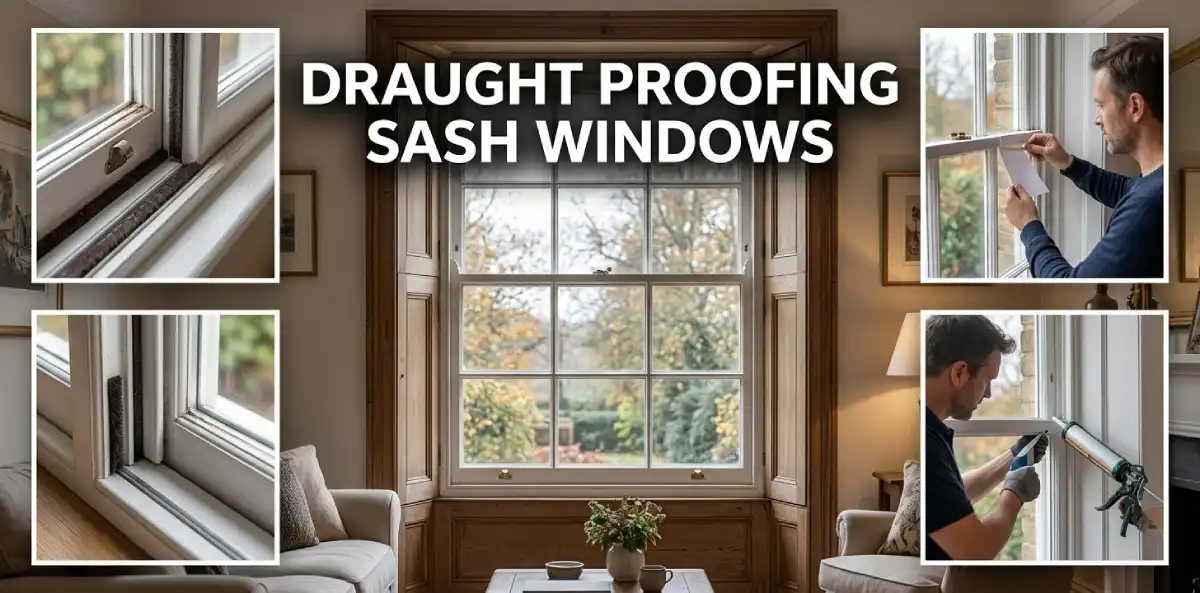
Old sash windows look lovely in a UK home. They also leak air through every tiny gap. On a windy night, you hear the rattle and feel the chill.
Draught proofing sash windows is the fix most people reach for first. It costs little, keeps your original frames, and works faster than you might expect. Historic England says good draught proofing can cut air leakage by up to 86% on sound sash windows.
This guide walks you through seven practical fixes. You will also see costs, tools, and the limits of DIY.
Why Draught Proofing Sash Windows Matters More Than You Think
Sash windows slide, so they need small gaps to move freely. Over the years, timber shrinks, paint builds up, and cords stretch. Those gaps grow bigger than the builder ever planned.
Historic England notes that about one-fifth of a home’s heating is lost through windows. Most of that escapes through air gaps rather than the glass itself.
So sealing gaps often helps more than you would guess. You also get a quieter room and fewer cold spots near the glass.
The Energy Saving Trust puts the saving at around £55 a year for windows, floors and doors together. It is a combined figure, so treat it as a rough guide.
First, Find Where the Cold Air Gets In
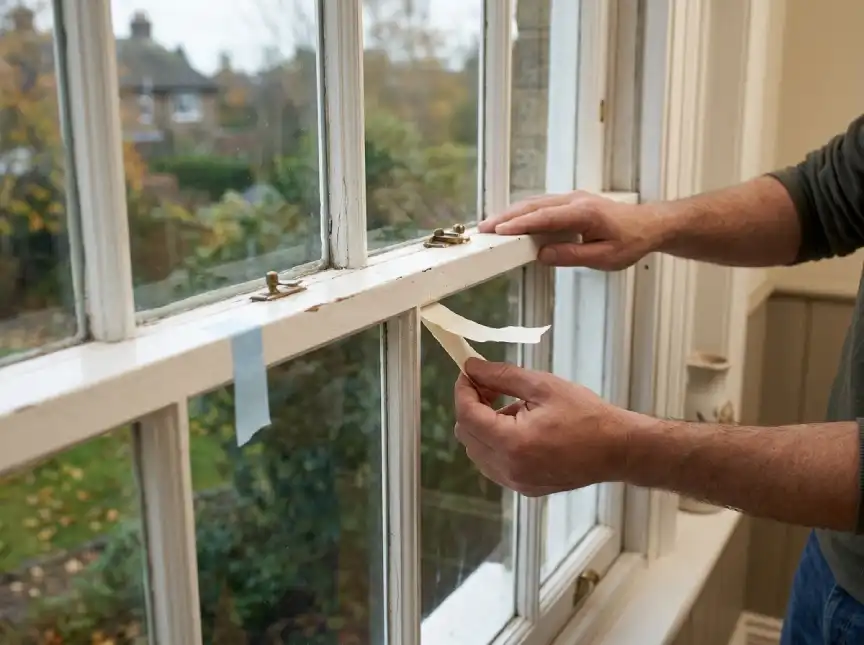
Before you buy anything, test the window. Pick a windy day and close the room door.
- Hold a candle or incense stick near the meeting rail and watch the flame.
- Slide a thin card between the sash and frame to check the gap.
- Run a wet hand along the edges and feel for cold spots.
- Check the sides, the top, the bottom, and where both sashes meet.
Mark every leaky spot with masking tape. This tells you which fix fits which gap.
7 Easy Ways to Draught Proof Sash Windows
Start with the cheapest options and work upwards. Many homes need only two or three of these.
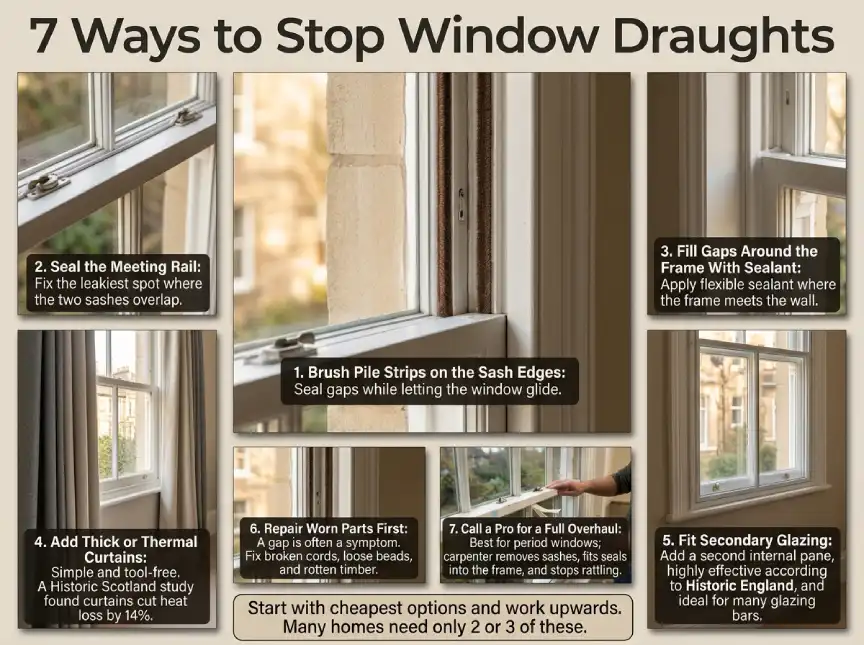
1. Brush Pile Strips on the Sash Edges
Brush strips are the go-to choice for sliding sashes. The soft bristles seal the gap yet still let the window glide.
Adhesive strips can peel as the sash moves, so press them down firmly on clean, dry timber. For a longer-lasting job, choose strips you can pin or slot into the frame.
2. Seal the Meeting Rail
The meeting rail is where the two sashes overlap. It is often the leakiest spot in the whole window.
A flexible foam or rubber strip along the top of the lower sash works well. Choose a slim one so the sash still closes and locks properly.
3. Fill Gaps Around the Frame With Sealant
Look at where the window frame meets the wall. Cracked paint and old mastic let cold air slip straight through.
Remove loose material, then apply a paintable flexible sealant. Smooth it with a damp finger for a neat finish.
4. Add Thick or Thermal Curtains
This one is simple and needs no tools. A laboratory study by Historic Scotland found that heavy curtains on traditional sash windows cut heat loss by 14%.
Close them at dusk and open them on sunny days.
5. Fit Secondary Glazing
Secondary glazing adds a second pane inside your existing window. It keeps the original sashes and helps stop both draughts and heat loss.
Historic England calls it a very effective option for older windows. It costs more than strips, but it suits windows with many glazing bars.
6. Repair Worn Parts First
Sometimes the gap is a symptom, not the cause. Broken cords, loose beads, or rotten timber can all let air through.
Fix these first, or the new strips will not seal properly. Our guide to windows repair and glass replacement shows what to check.
7. Call a Pro for a Full Overhaul
A carpenter can remove the sashes, ease them, and fit brush seals into the frame. This also stops the rattling and keeps the windows running smoothly for years.
It is the best route for valuable period windows or conservation areas.
Quick Comparison: Which Fix Suits Your Window?
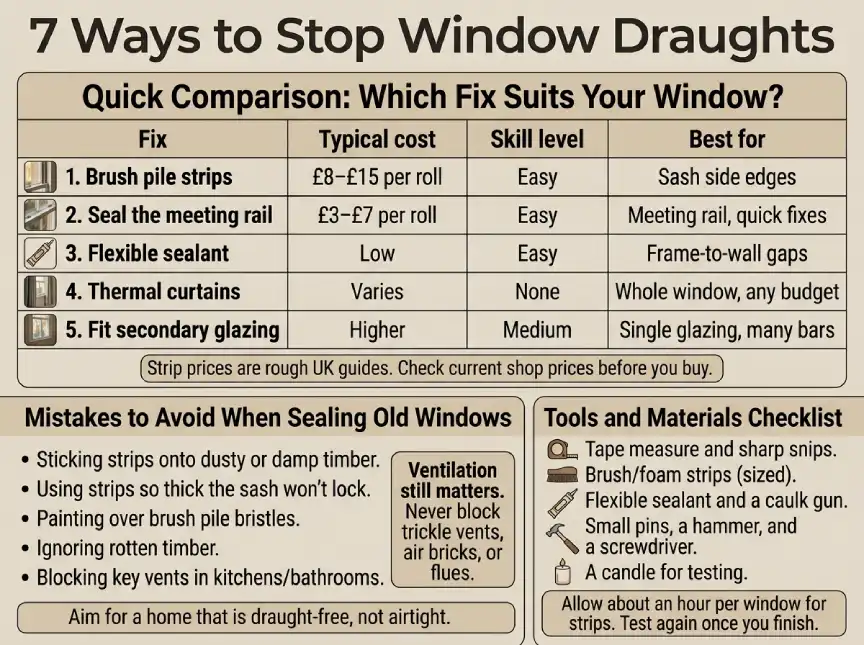
| Fix | Typical cost | Skill level | Best for |
|---|---|---|---|
| Brush strips | £8–£15 per roll | Easy | Sash side edges |
| Foam or rubber strip | £3–£7 per roll | Easy | Meeting rail, quick fixes |
| Flexible sealant | Low | Easy | Frame-to-wall gaps |
| Thermal curtains | Varies | None | Whole window, any budget |
| Secondary glazing | Higher | Medium | Single glazing, many bars |
| Professional overhaul | Quote needed | Pro | Period or valuable windows |
Strip prices are rough UK guides. Check current shop prices before you buy.
Mistakes to Avoid When Sealing Old Windows
Small errors can ruin a good job. Watch out for these common ones:
- Sticking strips onto dusty or damp timber, so they fail within weeks.
- Using strips so thick that the sash cannot close or lock.
- Painting over brush pile, which ruins the bristles.
- Ignoring rotten timber that no strip can fix.
- Blocking every vent in kitchens and bathrooms.
Ventilation still matters. Never block trickle vents, air bricks, or flues. Good airflow keeps moisture down and protects the timber.
Aim for a home that is draught-free, not airtight.
Tools and Materials Checklist
You do not need a full workshop. Gather these before you start:
- Tape measure and sharp scissors or snips
- Brush or foam strips sized to the gap
- Flexible sealant and a caulk gun
- Small pins, a hammer, and a screwdriver
- A candle or incense stick for testing
Allow about an hour per window for strips. Test again once you finish.
DIY or Professional? How to Decide
DIY suits most sash windows in decent shape. If the sashes slide smoothly, strips are usually enough. If they stick, rattle badly, or have broken cords, call a carpenter.
Choose DIY when:
- The timber is sound and the paint is mostly intact.
- The gaps are small and easy to reach.
- You want a low-cost fix before winter.
Choose a professional when:
- The windows are period features or in a conservation area.
- The sashes need removing, easing, or repairing.
- Strips keep failing because the frame has moved.
Professional work costs more upfront. It often lasts longer, though, and keeps the windows operating well.
Watch: Sash Window Draught Proofing in Action
[Insert one YouTube video here: a sash window draught-proofing demo]
Keep Your Seals Working: Simple Aftercare
Draught proofing needs a little care. A few minutes each year protects your work.
- Vacuum brush strips gently with a soft brush attachment.
- Wipe foam and rubber seals with a damp cloth.
- Check every seal each autumn, before the heating season.
- Replace foam strips when they flatten or crumble.
Foam strips are the cheapest option, but they tend to wear out sooner. Brush and rubber strips usually last longer.
What You Will Notice Afterwards
Most people notice the change straight away. The room feels calmer, with less rattling and fewer cold spots. Your heating may also cycle on less often.
For the rest of your home, see our full guide to draught proofing windows and doors.
Ready to Warm Up Your Sash Windows This Weekend?
Draught proofing sash windows is one of the most rewarding small jobs in an older home. Start with a simple draught test, pick one or two fixes, and build from there.
Your windows keep their charm, and your rooms stay warmer. For wider savings, explore our energy efficiency solutions.
FAQs
1. Can I draught proof sash windows myself?
Yes, most homeowners can. Brush strips, meeting rail seals, and sealant are all DIY-friendly. Call a pro if the sashes stick or have broken cords.
2. Do adhesive strips work on sash windows?
They can, but the sliding motion may loosen them over time. Brush strips are usually the better choice for sash edges.
3. How much does draught proofing sash windows cost?
DIY strips often cost between £3 and £15 per roll. Professional work depends on the number and condition of your windows, so get a quote.
4. Will draught proofing stop my sash windows rattling?
Often, yes. Seals take up the loose space around the sash. For heavy rattling, a full carpenter overhaul works best.
5. Can draught proofing cause condensation?
It can if you seal every vent in a damp room. Keep trickle vents, air bricks, and extractor fans clear.
6. Is secondary glazing better than draught proofing?
It tackles both draughts and heat loss, so it can help more. It also costs more, so many people start with strips.
7. How long do draught-proofing strips last?
Foam strips wear out fastest. Brush and rubber strips usually last longer with basic care.
8. When is the best time to draught proof?
Early autumn is ideal. You finish before the cold weather and the heating bills arrive.